In this lesson we were shown how to use Photoshops layer FX in order to create certain effects that would be difficult to achieve manually. Here we used an image provided to us of a clay model as a base layer for our painting. We used various 'glow' effects in order to create a self-illuminating lava effect, and combined them with the base image to create a lava monster.
This is the lava monster I created in class. I used an image of the planet Mustafar from Revenge of the Sith as a background.
For our homework assignment, we were tasked with creating our own lava monster.
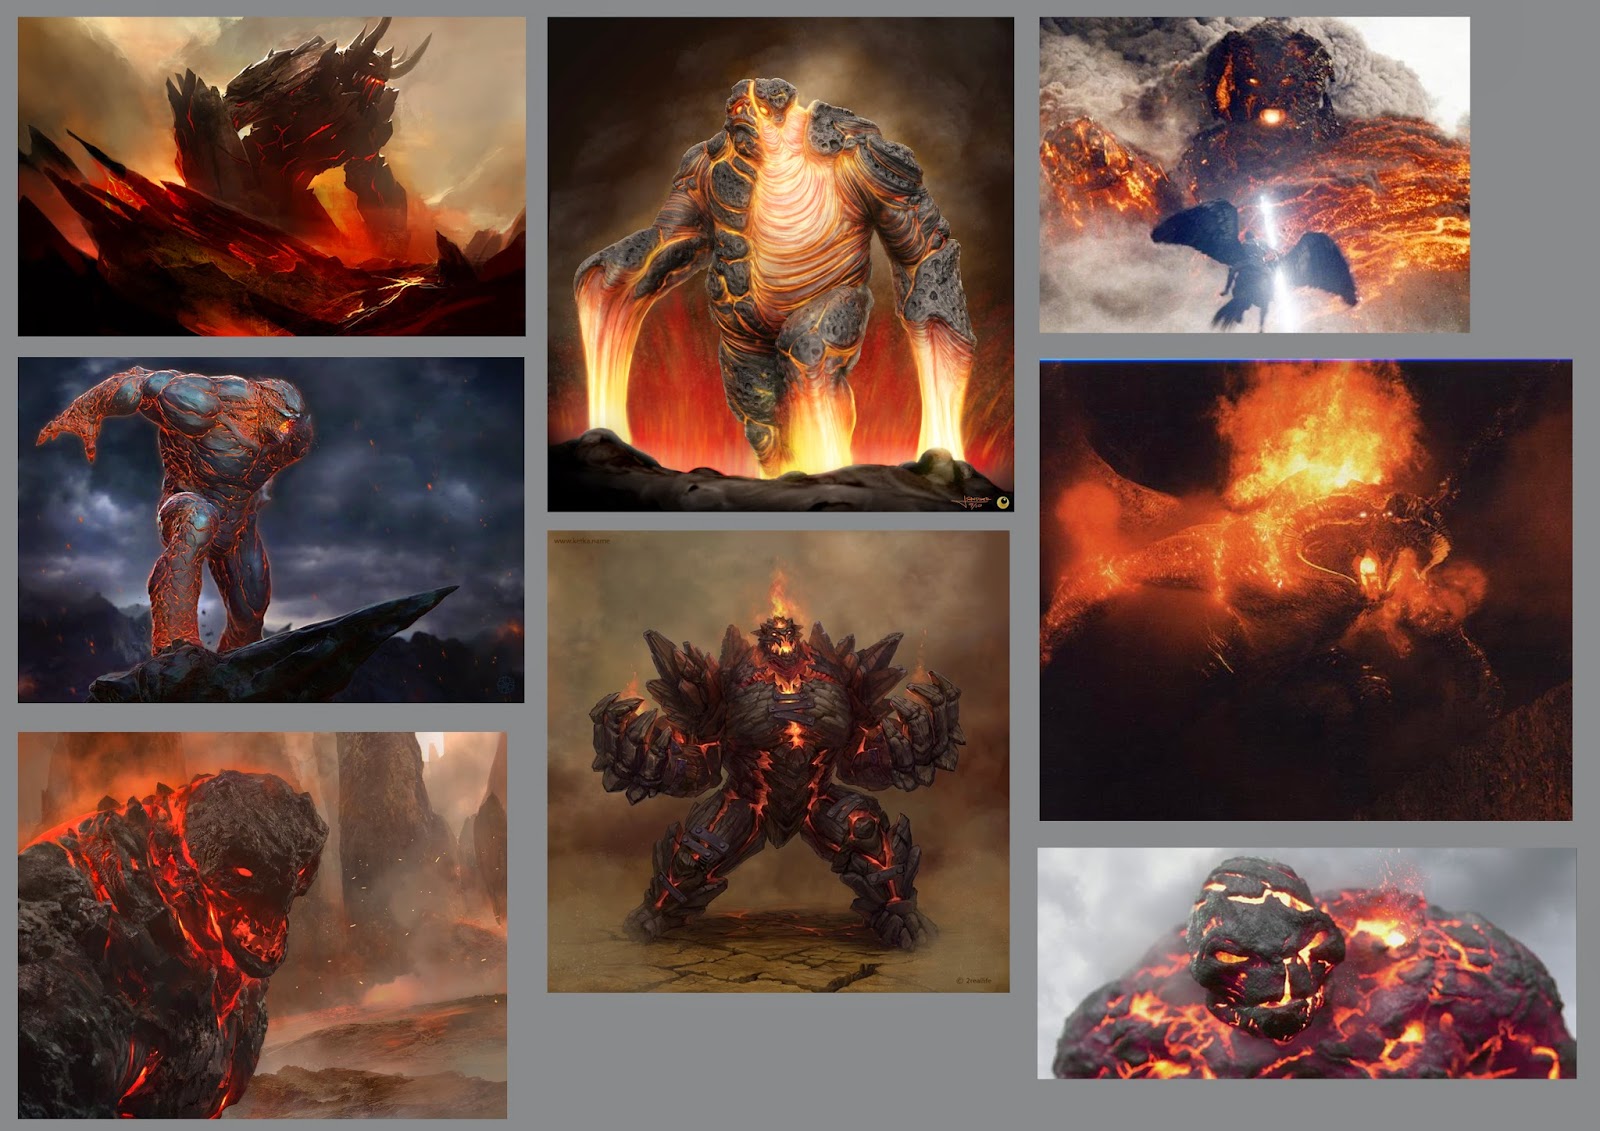
Mood Board of other lava monster designs I found online.
Since I wanted to create a large lava monster, I focused primarily on using atmospheric effects to try and create a sense of scale.
This was my first attempt. Here I experimented with using gradually weaker values as the environment gets further and further away. However, since I didn't like the camera angle nor the design of the monster itself, I decided to start a new piece.
This was my initial sketch for my main piece. I used a lower camera angle looking more upwards in order to create a more effective sense of scale.
I then started blocking out the values of the character, again trying to create atmospheric effects to weaken the values as they get further from the camera.
Finally I added the lava effect we were shown in class to paint cracks on the character. I tried to use a symmetrical lava pattern so that it is more easily identifiable as a character with a head, torso and two arms and legs.
If I were to complete this piece again, I would rearrange the pose so that the leg on the right doesn't appear to morph into the torso at the knee. I should also start to use various images as textures in order to create detail, as my final piece looks very basic.


No comments:
Post a Comment