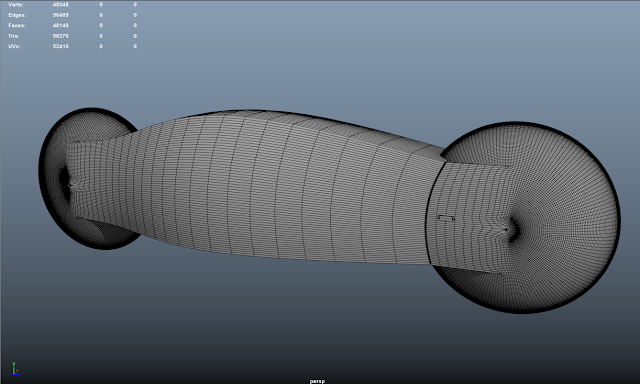
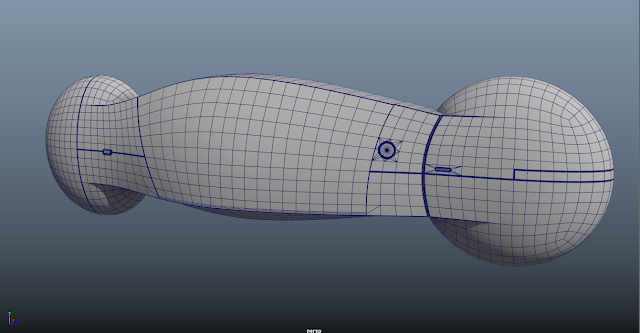
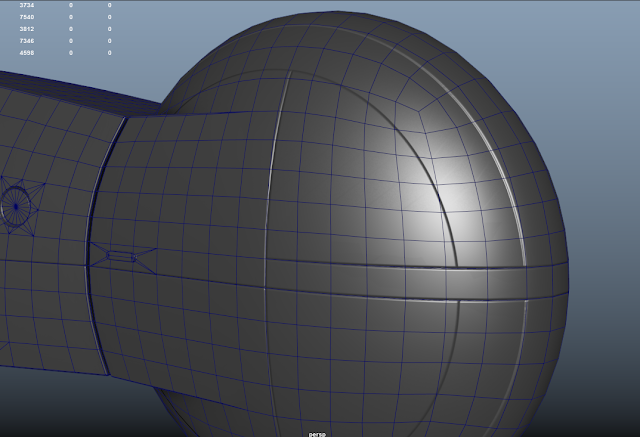
In order to get the correct shape of the bike, I first created a model where I only concerned my self with the shape, and ignored the topology (and polygon count). Since the Syd Mead piece of concept art was my only source of reference for this bike, I had difficulty recreating the profile of the bike whilst also trying to recreate the particular intricacies of the model. In particular, I found difficulty in making the corners at the top of the chassis flow into where they connect with the wheels.

After creating the general shape of the bike, I could then use this purely as a template for another model that would have correct topology. I using Maya's 'make live' feature, I could modeling over the top of the previous model with topology as my primary concern, and be ensured that the overall shape of the model would remain the same. I was also able to model the trim along the model and around lights, as well as other small bits of detail (such as the fuel tank cap, or indicator side-light). However, I wasn't able to model the circular bits of trim on the sides of the wheels, as the correct topology in order to create this was not available to me; I would have to tackle this later.

In order to get the circular trim on the sides of the wheels, I first created UVs for the wheel with a planar projection directly along the x-axis of the model. I could then use this projection to create a normal map using NDO whilst ensuring that the circle I create in Photoshop will remain perfectly circular on the side of the model.
I then made a lower-poly version of the bike, as I would not need polygons for the in-cutting trim, as you cannot easily see their silhouette. Then, after baking my normals and ambient occlusion, I would need to combine them with the normals of the circular trim on the side of the wheels (Maya does offer an option to 'include materials' when transferring normals, but it seemed to only accept bump maps, not normal maps). Since they were a texture created in NDO and not geometry, I transferred them as a diffuse texture and them overlayed them on top of my baked normals in Photoshop.
I then modeled the antenna of the bike, and the final model of the bike was complete.


